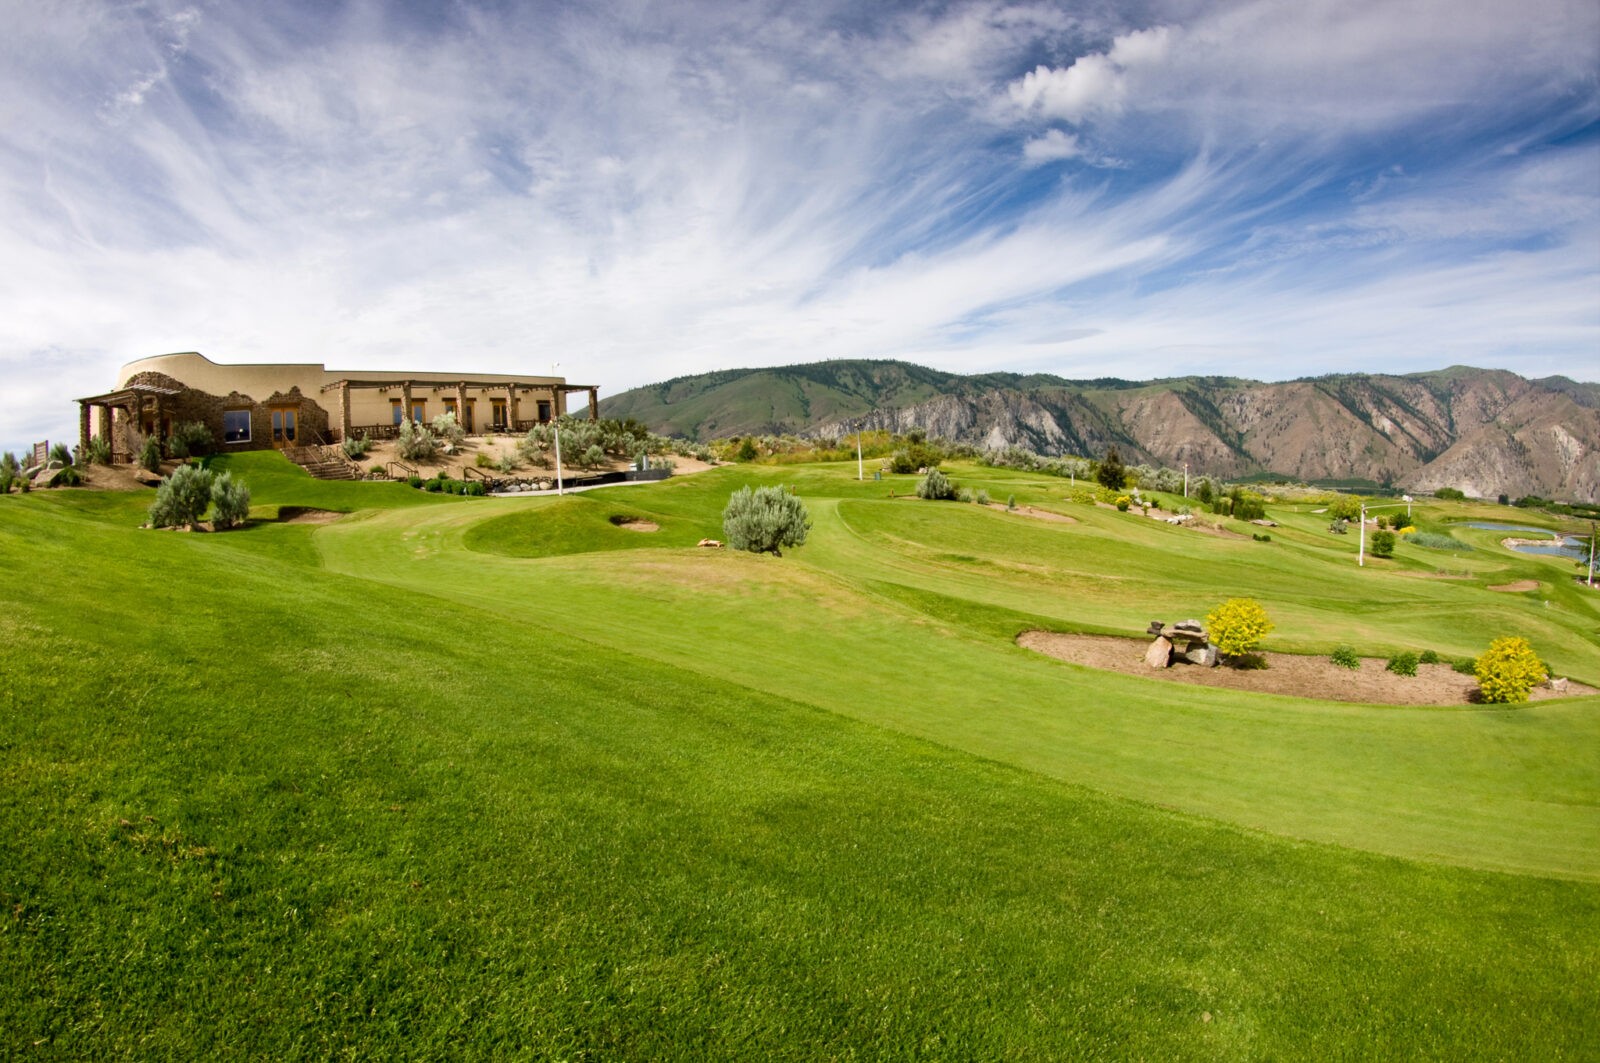
Trying to capture that beautiful landscape in front of you with your camera can be difficult to achieve sometimes. With just a few adjustments, you will have a better chance of getting the photo of all that fantastic scenery…
The majority of landscape and scenic photography is all about clarity and maximum depth-of-field. Most point-and-shoot cameras don’t have the ability to set the aperture manually, so you’ll need to rely on Program or perhaps a better option, Landscape or Scenic Mode. When you activate the Landscape feature, you are telling your camera to close down the aperture for maximum depth-of-field, or overall clarity throughout the entire photograph. This is a great mode when you’re trying to have people in the foreground while keeping background clear at the same time.
To use the Landscape Mode, look for an icon that looks like a mountain. Since it’s a commonly used feature, it might be a button or on the dial, if not, look for the word “SCENE” or “SCN.” The SCENE menu contains all of your different presets, different ways of telling your camera what type of picture you’re trying to capture. Inside the SCENE menu, look for the mountain icon, or the word “Landscape,” or “Scenic.”
Note: When using this feature, your camera might choose a shutter speed that is too slow for you to handhold the camera and still get a clear picture, a tripod would then be required. Don’t panic, tripods are easy to use, and expand the limits to your photography, more on tripods in a future installment.
Quick tip: If you don’t have a tripod yet, raise the ISO in increments until the shutter speed is fast enough to handhold.
